

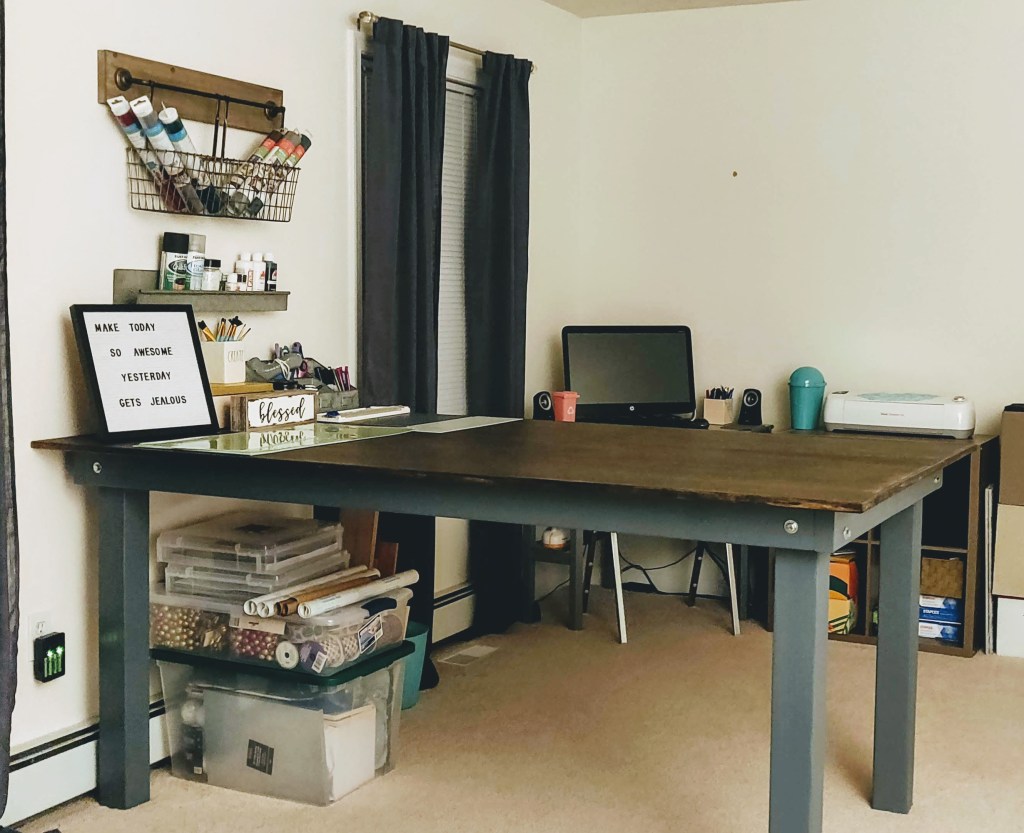
I don’t know what my husband has against Ikea, other than my inability to come out with just the things I went in to purchase, but when I told him I was going to Ikea to get a table/desk for my craft space he had another idea. We can build one ourselves! While I am usually okay with making things ourselves, I’ve wanted a craft table for awhile now and I didn’t want to have to wait any longer to get one. With both of us working full time we aren’t the greatest at starting and finishing projects in a timely manner…this ended up being one of those projects, but it was worth the wait!
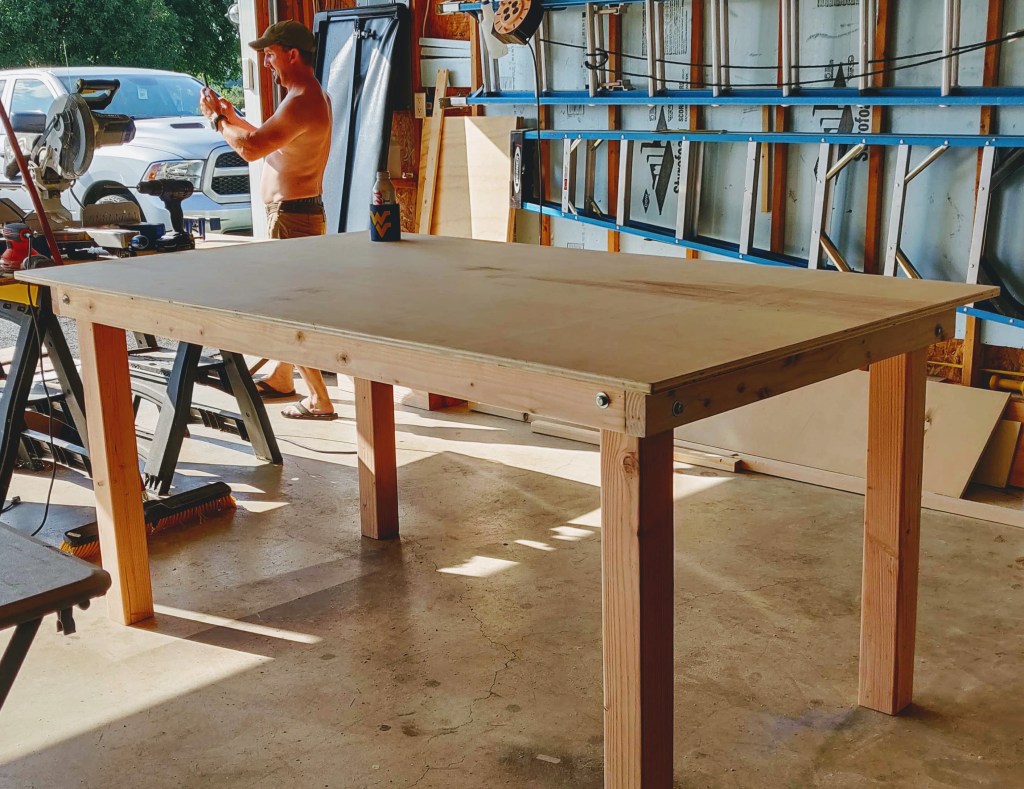
I started out by drawing my design and figuring out how much lumber I would need. My original design had a more detailed base, mostly because we thought we would need it for support, we ended up nixing it when we saw how sturdy it was. We bought the 2×4’s and 4×4’s at Lowe’s and got the birch plywood for the top at Home Depot because they had better selection and prices. I chose to go with a counter height for my table so it is easier to stand and work at. I picked up some barstools at a yard sale but they need to be stripped and refinished…yet another project to work on.

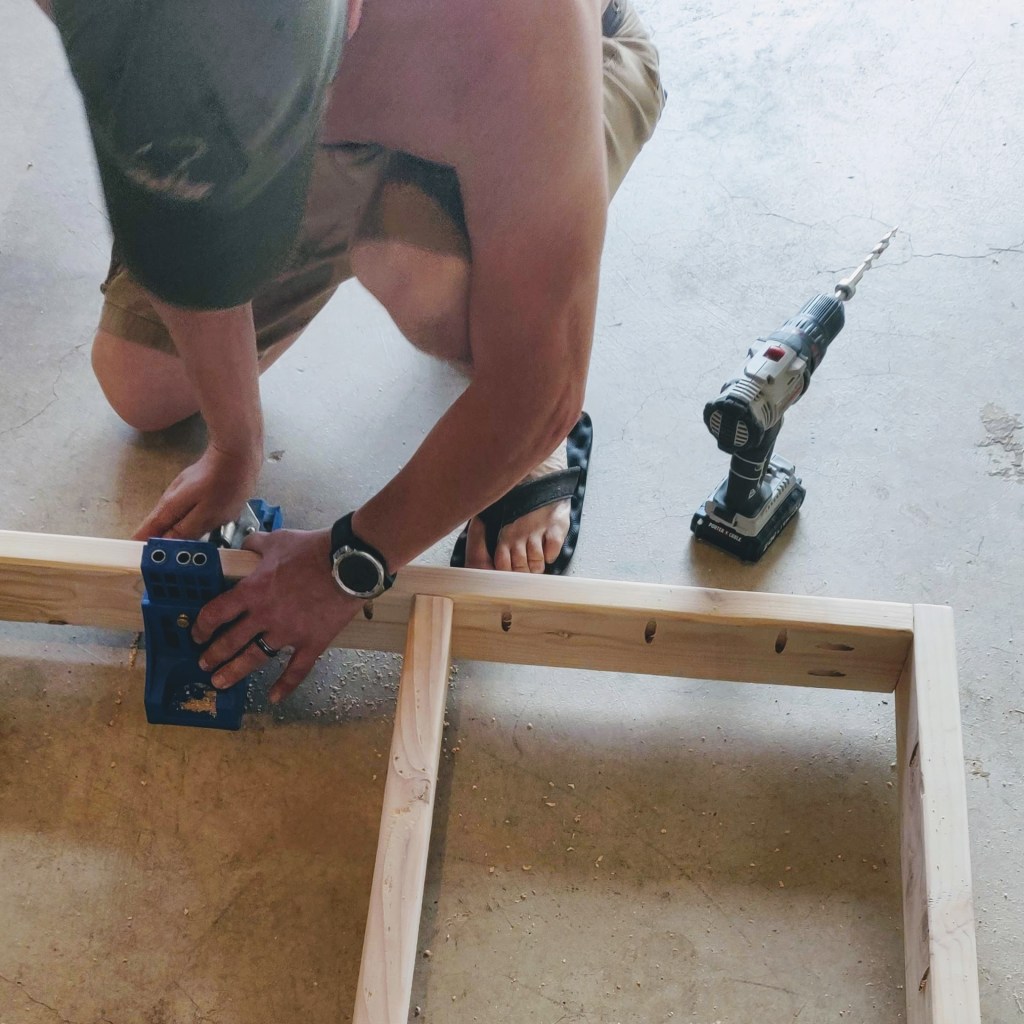
To begin we made the underside of the table top. This was made out of 2×4’s and screwed together using our Kreg Jig K4 pocket hole system. If you do not own one of these and do any kind of woodworking I highly recommend you purchase one, it is an amazing tool to have! I love the look of not having any screws showing, makes our projects look more professional.


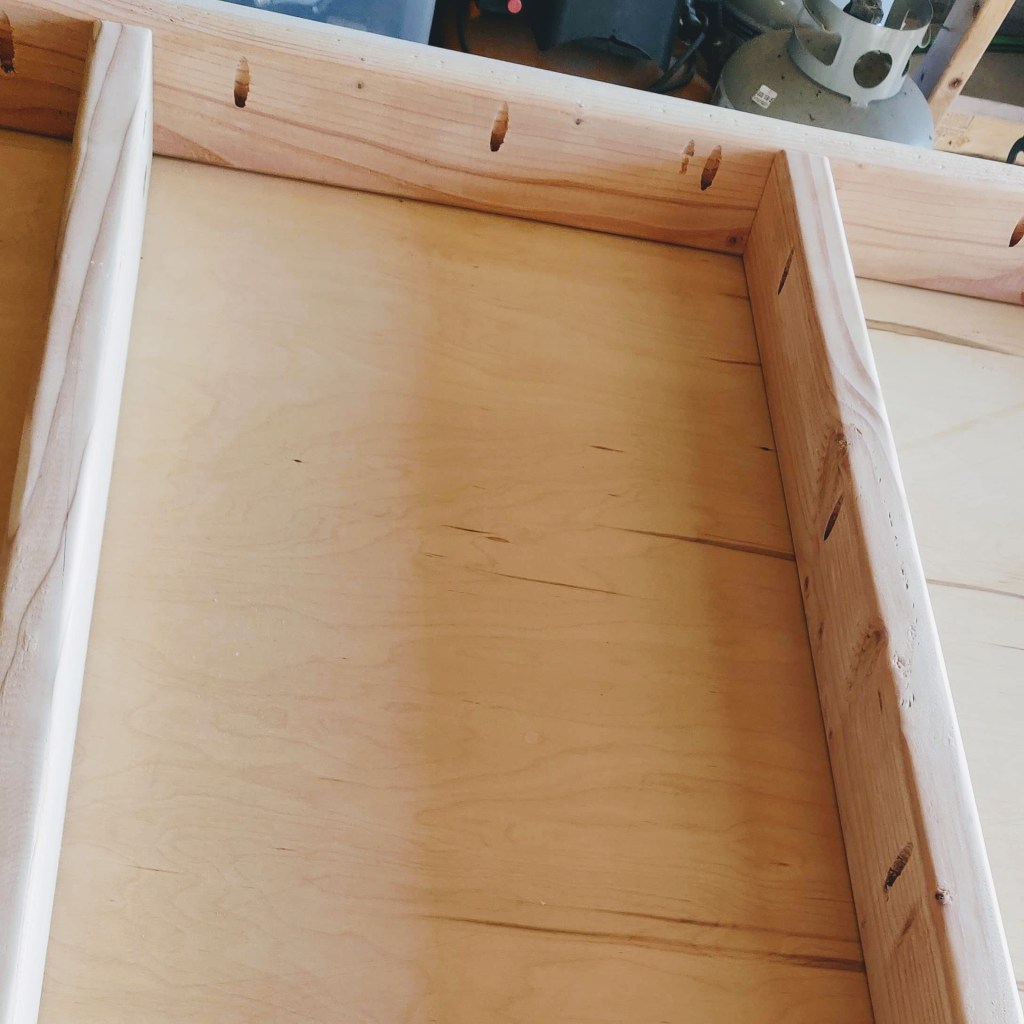
Lots and lots of pocket holes later we are ready to attach the tabletop. The other benefit to pocket holes is the overall strength they provide to your project. That tabletop isn’t moving…ever!


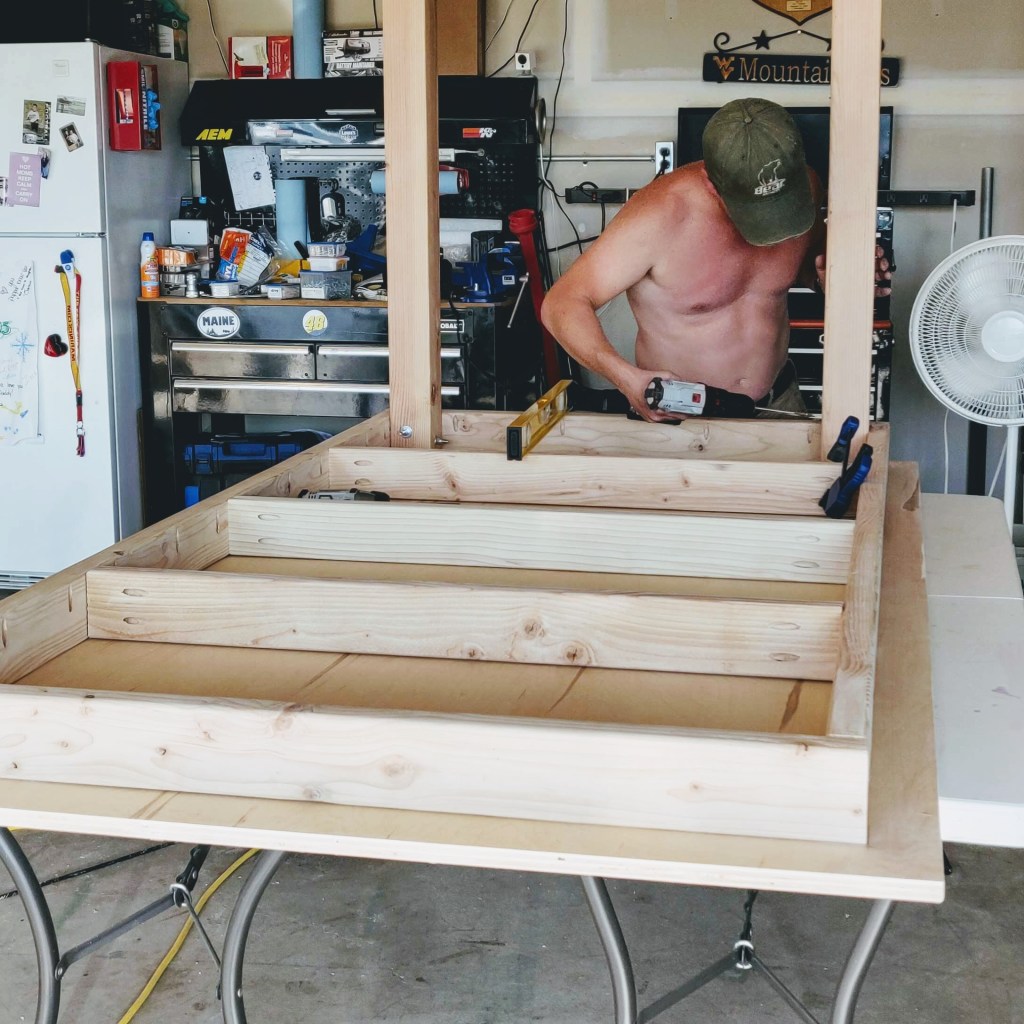
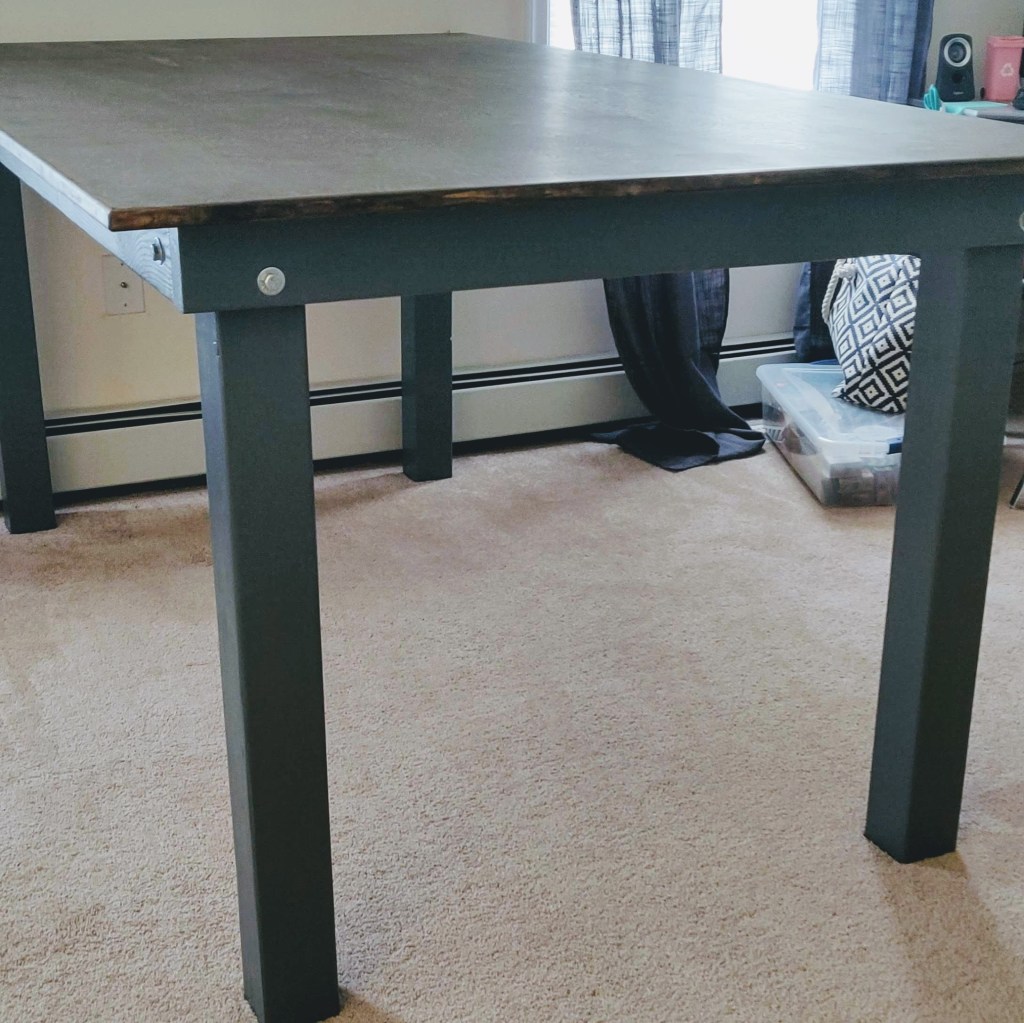
Now onto the legs! Once we decided to nix the more detailed base we decided on lag bolts to attach the legs, these would further strengthen the table and be able to hold the weight of the tabletop…which is super heavy! To attach the lag bolts, 2 holes needed to be drilled in each corner, making sure to offset so the bolts could go straight through without hitting each other.
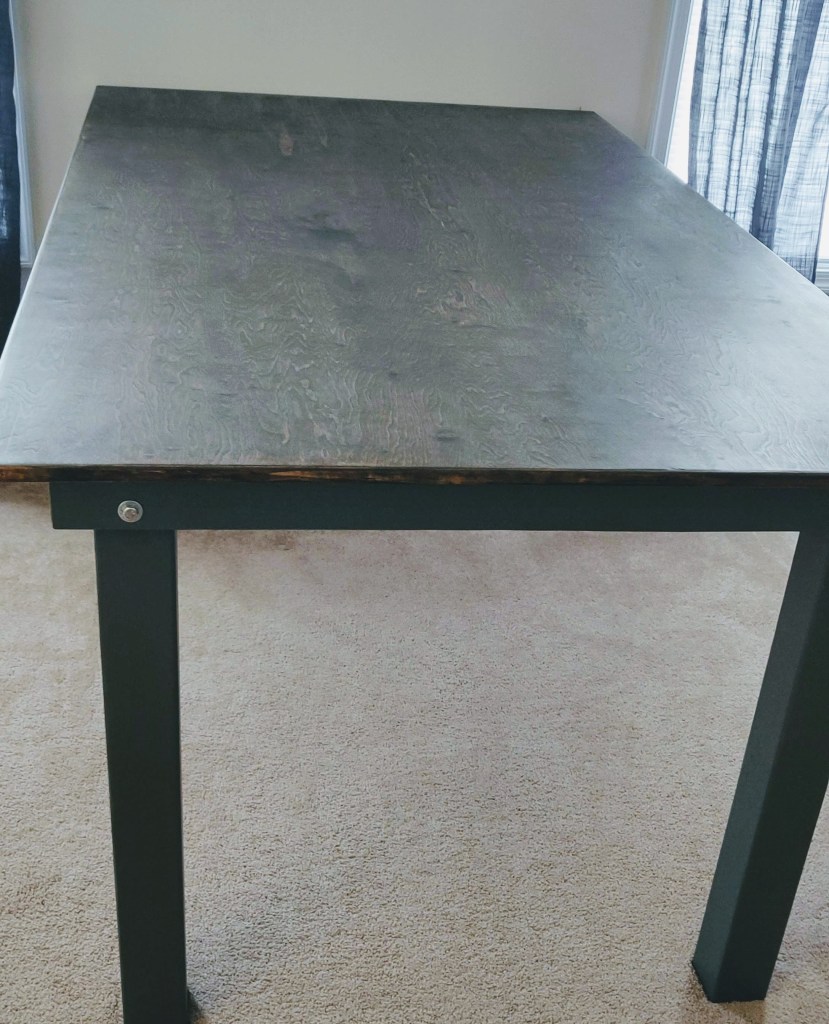
I wasn’t happy with the look of the plywood edges of the tabletop. After looking at Lowe’s and Home Depot I finally found some window trim at Home Depot that was both affordable and the size I needed without being too detailed. We cut the trim to fit the sides, mitering the corners to create a nice clean finish. After the trim was on we went back and filled all the nail holes and the seam where the trim met the table with wood putty. Several sanding passes later she was ready to be stained.

I went with a dark stain on the top. I applied one coat then sanded it down and applied 2 additional coats to get to the desired shade I wanted. Then I decided to paint the legs and the base of the tabletop, I went with a bluish-gray color and I love how it turned out!

This project was done over several weekends and although it took us longer than I was hoping it would it was definitely worth the wait! It will definitely get lots of use and will hold up for a very long time and bonus… it only cost about $100!


I love it, and I love your office space. 😊
LikeLike
Thank you so much! Now it just needs some organization!
LikeLiked by 1 person